Table of contents Link to heading
Intro Link to heading
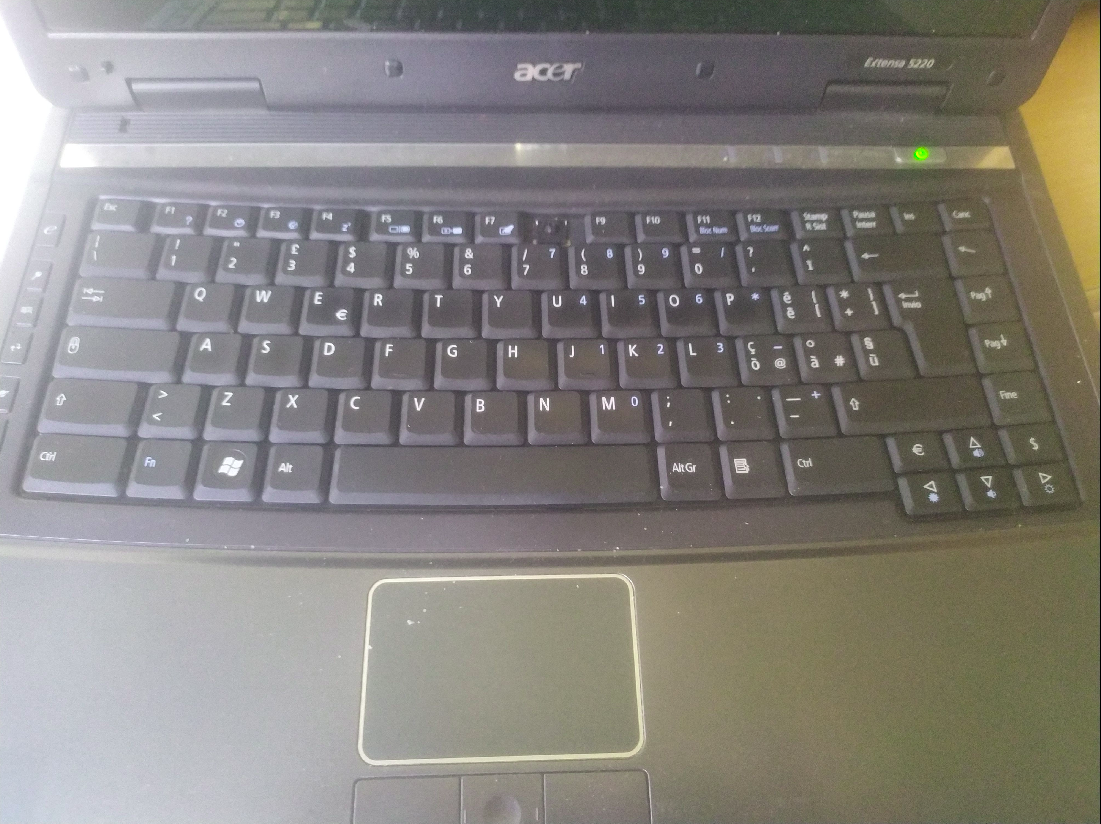
Recently, at my local online marketplace bought two laptops for 20$, a Thinkpad R40 and Acer Extensa 5220. The thinkpad had no charger and currently I do not have any intention investing on a new one. The other one Acer Extensa 5220 was in working condition albeit painfully slow, despite having Windows 7 as OS. So, I thought why not install a linux distro and breathe new life in it.
 |
|---|
| Figure 1: Acer Extensa 5220. It has a missing f2 button, but anything else works just fine. |
Choosing a suitable operating system Link to heading
This depends heavily on the hardware that we have, in which case, pretty underwhelming considering this is a mid-range laptop from 2008. Here are the full specs of Acer Extensa 5220:
- Celeron M550 CPU
- 1.5GB Of DDR2 RAM
- 120 GB HDD
Originally, the laptop had only 512 MB of RAM. I managed find an additional ram stick of 1GB DDR2. It runs much more smoothly, very handy for surfing the web.
My OS of choice is Void Linux 32 bit version. There are several reasons such as:
xbpspackage manager is fast and reliable- Its Runit init system is small, fast and intuitive
- It is very stable and does the job with little fuss
- No systemd
- It is a rolling release and changes won’t break your computer
I downloaded the base image from the Void Linux download page and made a bootable USB. Then I changed the bios settings of laptop in order to accept booting from USB. I will not go through installation process because it is already done and explained in detail. For internet connection I used the ethernet port because I did want to deal with configuration of wifi connection.
After the install process of base image is finished, we have a functioning OS but we need to make some adjustments like adding a desktop environment, network manager and dealing with possible audio issues.
Desktop Environment Link to heading
For desktop environment I thought the best solution is LXDE. It is a little bit dated, but it does its job without any fuss and most importantly it requires little ram memory. It has some core desktop components like PCManFm (file manager), Openbox(window manager), LXDM (lightweight display manager). For more details check official wiki. First we need to make sure to install xorg which is a display server, it is a prerequisite if we want LXDE.
sudo xbps-install -S xorg xorg-xinit
Note that the package xorg-xinit allows a user to manually start an Xorg display server. It is typically used to start window managers or desktop environments.
Installing LXDE on Void Linux is fairly straightforward.
sudo xbps-install -S lxde
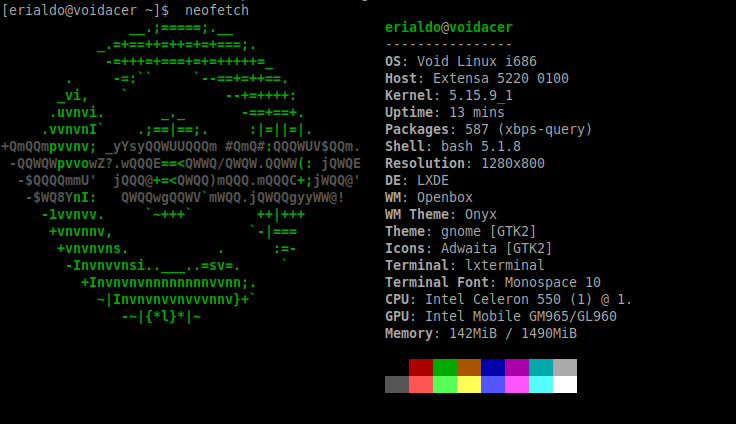
Next up we use the startx script to use LXDE. We create a file called .xinitrc at our home directory and run our DE from there. We create the file with touch command, insert the load command for lxde inside the .xinitrc file and start the script.
touch ~/.xinitrc
echo "exec startlxde" >> ~/.xinitrc
startx
 |
|---|
| Figure 2: Stats from neofetch |
Setting up wifi Link to heading
Up until this point we used dhcpcd daemon and the ethernet port as a way to connect to the internet. To use wifi we will be using NetworkManager.
sudo xbps-install -S NetworkManager
Add the service by creating a symlink to services directory.
sudo ln -s /etc/sv/NetworkManager/ /var/service/
Make sure to remove other networking services which in this case is dhcpcd.
sudo rm /var/services/dhcpcd
Check if NetworkManager is running
sv status /var/service/NetworkManager
Run nmtui from terminal and enter your wireless SSID and password and save the connection.
One problem that I run when trying to configure wifi is that sometimes NetworkManager does not work properly. After a little bit of googling around I found out the problem was dbus service, which is a mechanism that allows communication between multiple processes running concurrently on the same machine. I quoted this from wikipedia. Make sure that you have dbus already on your system, if not install and enable the service.
sudo xbps-install -S dbus
sudo ln -s /etc/sv/dbus/ /var/service/
Fixing audio issues Link to heading
Often, in older laptops audio does not work out of the box. The reason is that ALSA or PulseAudio are a little fussy when it comes to old audio firmware, therefore it needs some tinkering. Here here are some of the steps:
- Install pulseaudio-utils
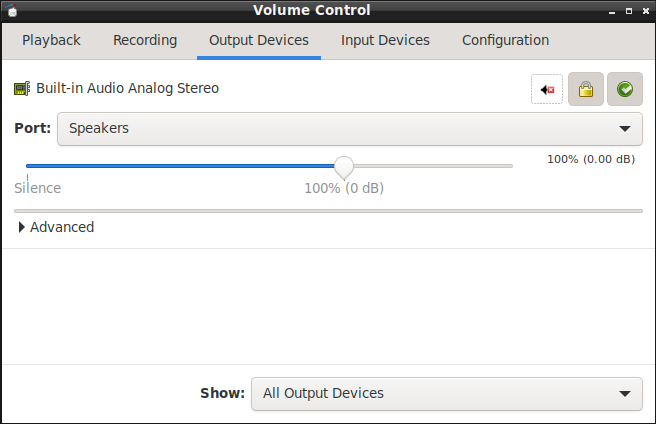
- Install pavucontrol which is a gui for pulseaudio. From it’s Volume Control panel, enable audio if needed or change channel. Note: sometimes external speakers do not work and you have to choose internal mic. Don’t know the reason.
 |
|---|
| Figure 3: Volume Control Panel of pavucontrol |
sudo xbps-install -S pulseaudio-utils pavucontrol
In case pavucontrol has problems showing up, check if dbus service is activated.